User Tools

Site Tools


Sidebar

This translation is older than the original page and might be outdated. See what has changed.
Translations of this page:


Quick reference

For active members

en:klub:itsluzby:wifi

This is an old revision of the document!


WiFi

Basic info about SH WiFi

  • SSID: SiliconHill
  • Encryption: WPA2-Enterprise, AES
  • Authentication: PEAP
  • RADIUS server:
    • ldap.sh.cvut.cz
    • Issuer: GEANT OV RSA CA 4
    • Intermediate CA: USERTrust RSA Certification Authority
    • Root CA: AAA Certificate Services

How to connect

First, registrar needs to register you to the network. You can reach him at adminX@siliconhill.cz (where X is the number of your block) and you need to tell him your MAC address.

Login credential are the same as to our Information system.

Windows 10

  1. The easy way
    1. Most of the time, you can just click the WiFi icon in your taskbar, choose SiliconHill from the list and connect like you do with any other network. Only insted of password, you will be prompted to enter username and password. In the rare case this does not work, follow the instructions below:
  2. Remove old SiliconHill network profile (if exists)
    1. Use shortcut Win+I to open settings.
    2. Go to Network and internet → WiFi, and choose Manage known networks
    3. Choose SiliconHill in the list and click remove.
  3. Create new WiFi profile
    1. Use shortcut Win+R to open Run window, enter control and click run.
    2. In Control Panels choose Network connections and sharing centre.
    3. Choose Set up new connection.
    4. Fill in Network name SiliconHill and choose WPA2-Enterprise encryption.
  4. Configure secure network parameters.
    1. Choose change connection settings.
    2. Select Security tab and click settings.
    3. Check Connect to this servers and fill in ldap.sh.cvut.cz, and choose AAA Certificate Services a USERTrust RSA Certification Authority of the list of truster root CA. Confirm with OK.
    4. Choose Advanced.
    5. Check verification method, choose User verification from dropdown menu and Save login credentials.
    6. In the popup window we fill in the login (same as for is.sh.cvut.cz) and confirm with OK.
    7. Confirm all windows with OK until you are left with this one. Then close it. :
  5. We connect to the network. If we have issues with connecting, we first go back and check the password and enter it again.

Android

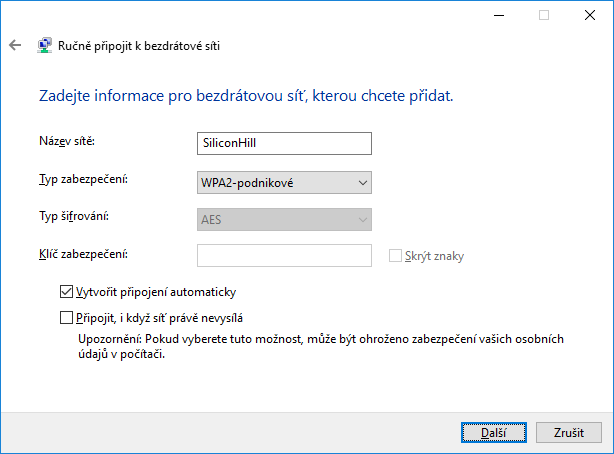
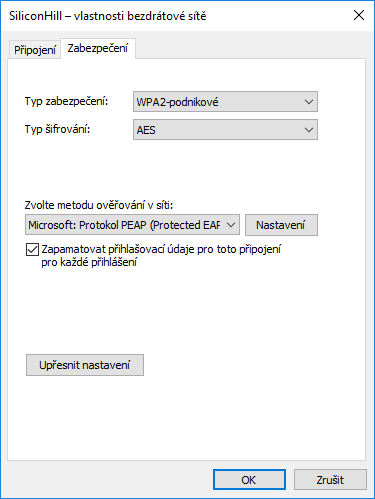
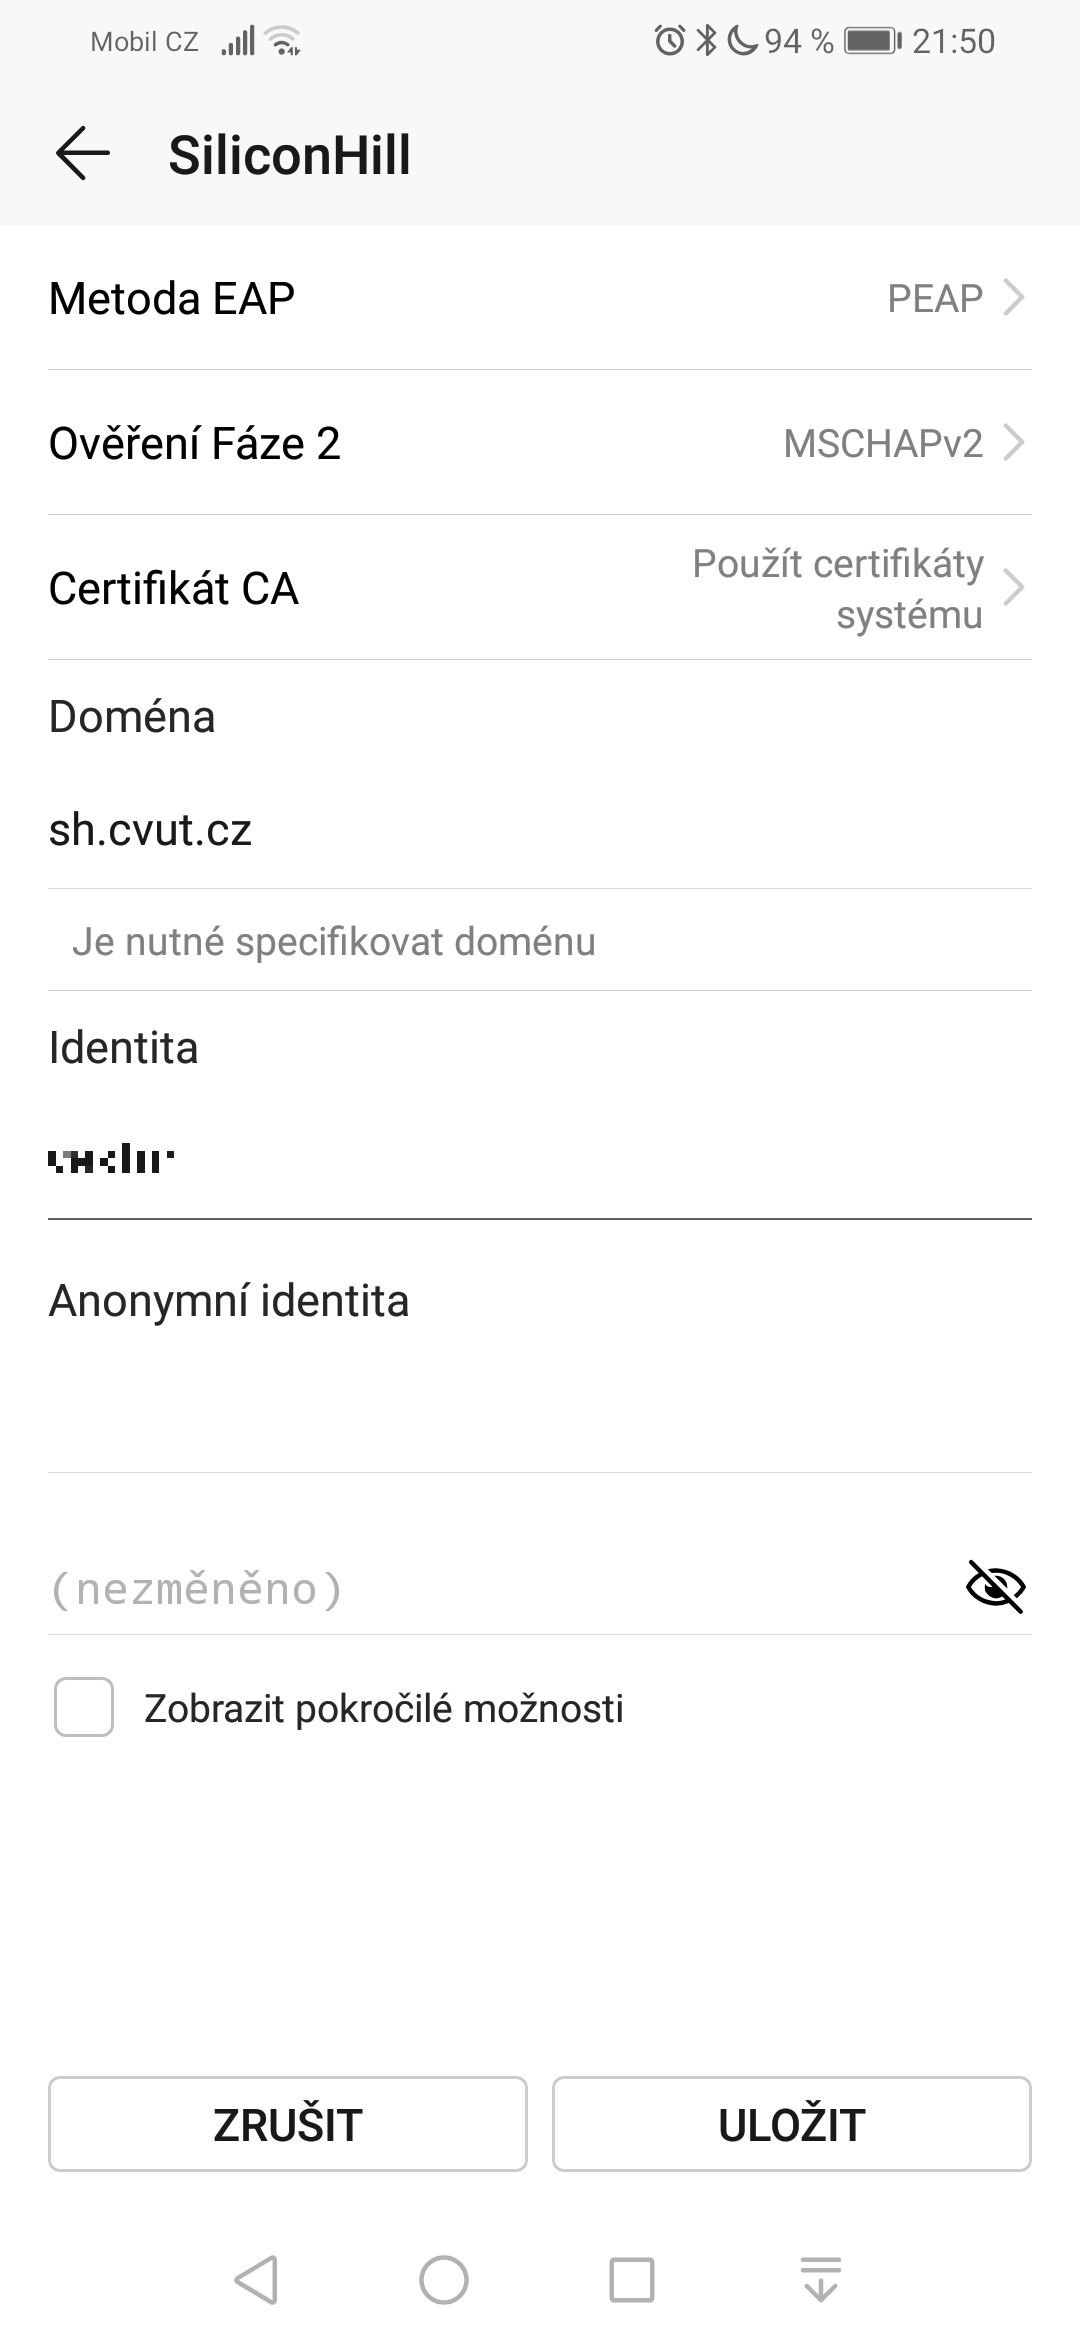
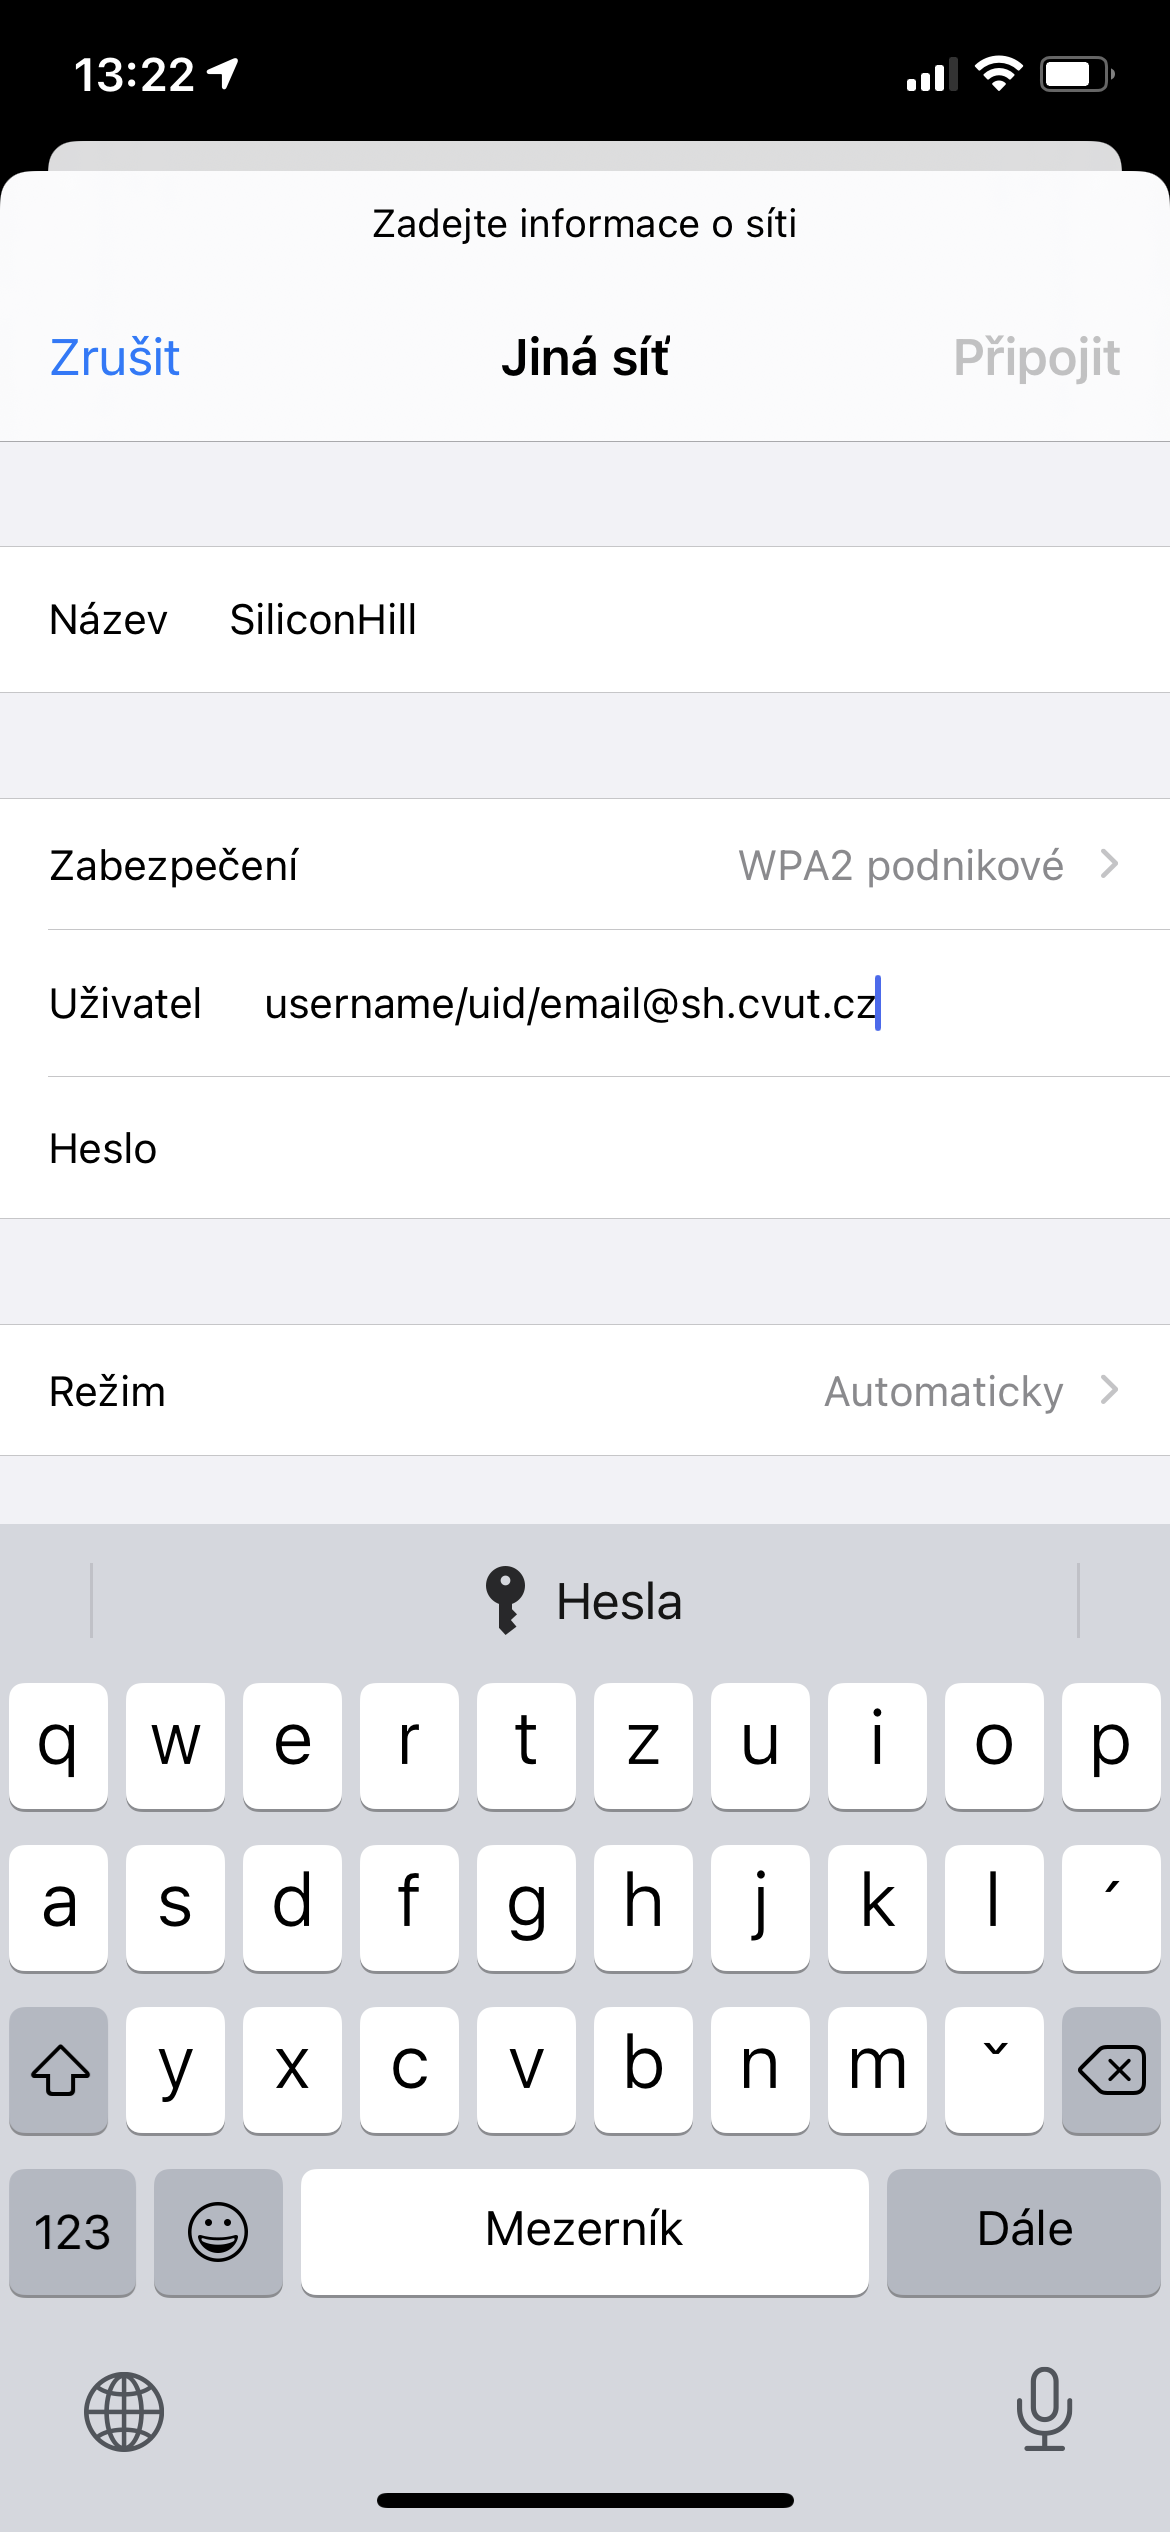
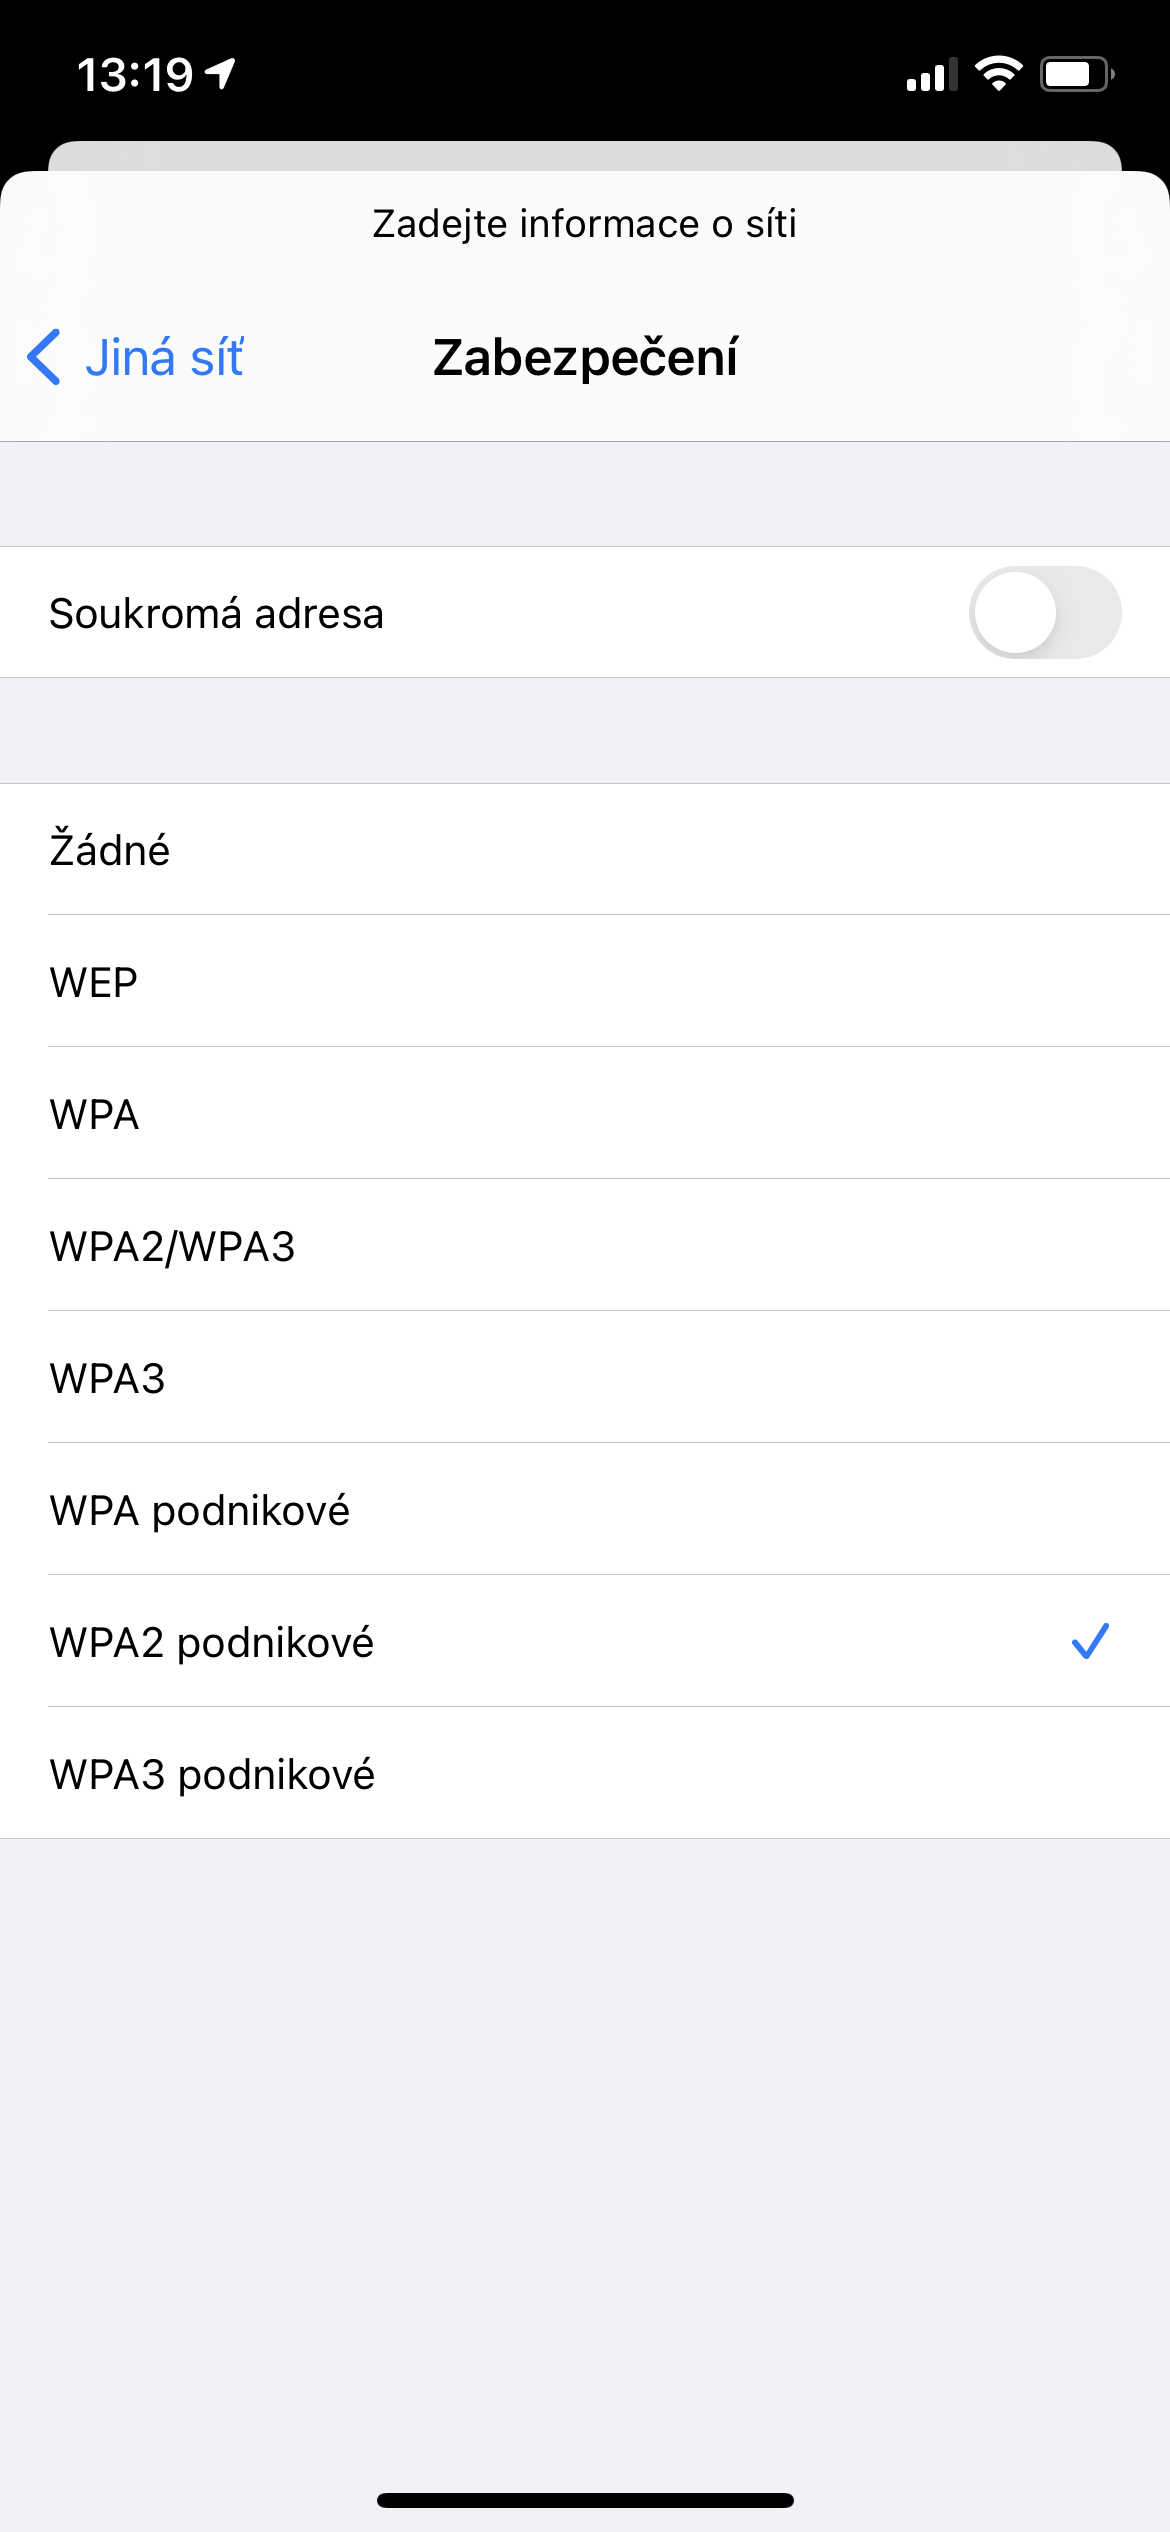
Select EAP methot to PEAP, PHASE 2 verification to MSCHAPSv2, fill in username (identity) and password (same as for IS). Anonymous identity stays empty.

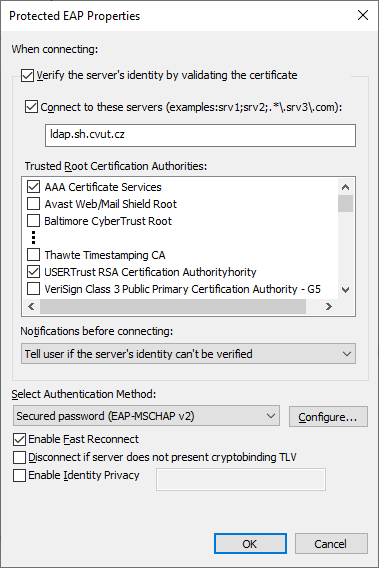
As a domain name, usually sh.cvut.cz is fine, but some devices need ldap.sh.cvut.cz.

Before connecting, you have to choose CA certificate. There are 3 options.

Před připojením je ještě nutné vyplnit pole Certifikát CA, existují 3 možnosti:

  • Use system certificates (should work with Android 8.0 and newer. Use ldap.sh.cvut.cz as domain name.
  • Download and install certificate from CA at https://www.identrust.com/node/935. Then the certificate will be shown in this menu under the name you choosed. Use ldap.sh.cvut.cz as domain name.
  • INSECURE OPTION - Do not verify. Although this option is insecure, it's widely used amongst users. To parahprase https://man.fit.cvut.cz/ict/eduroam/: If you do not provide RADIUS server name or disable certificate verification, your login credentials can be spoofed by someone who can then pretend to be you.

Disable MAC randomization

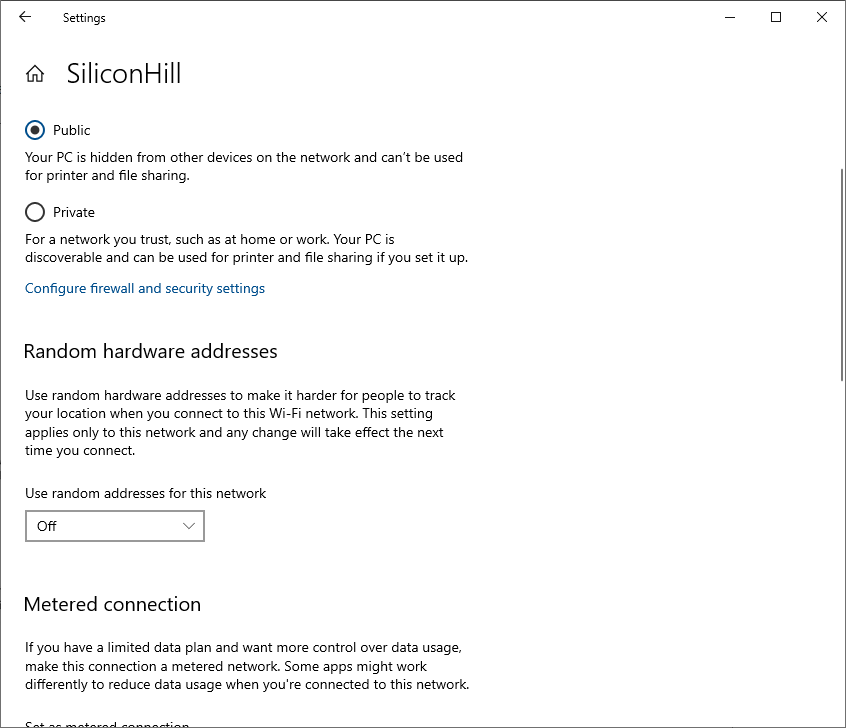
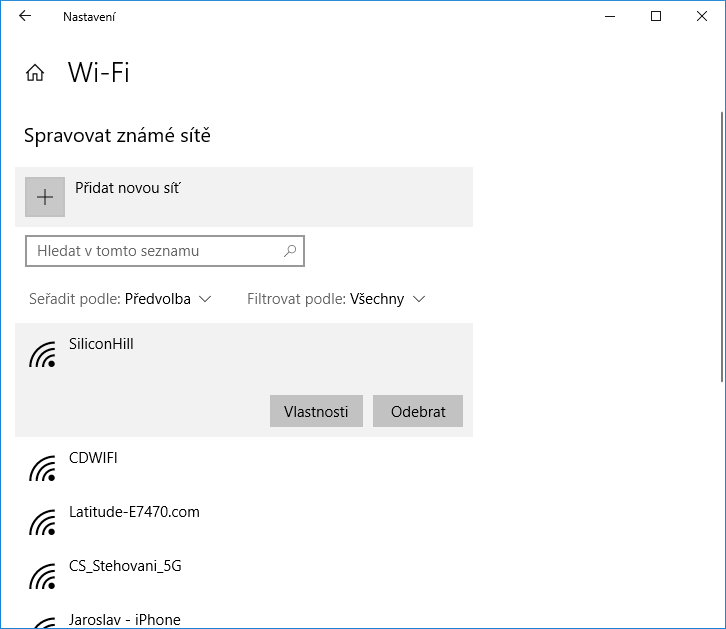
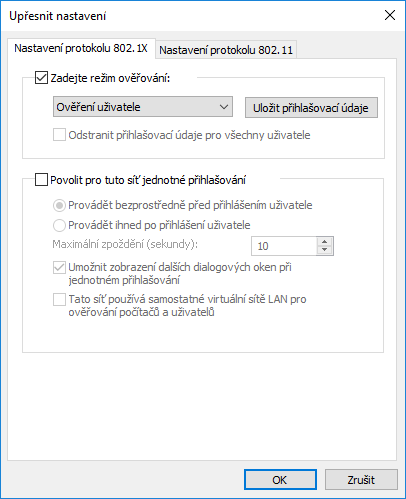
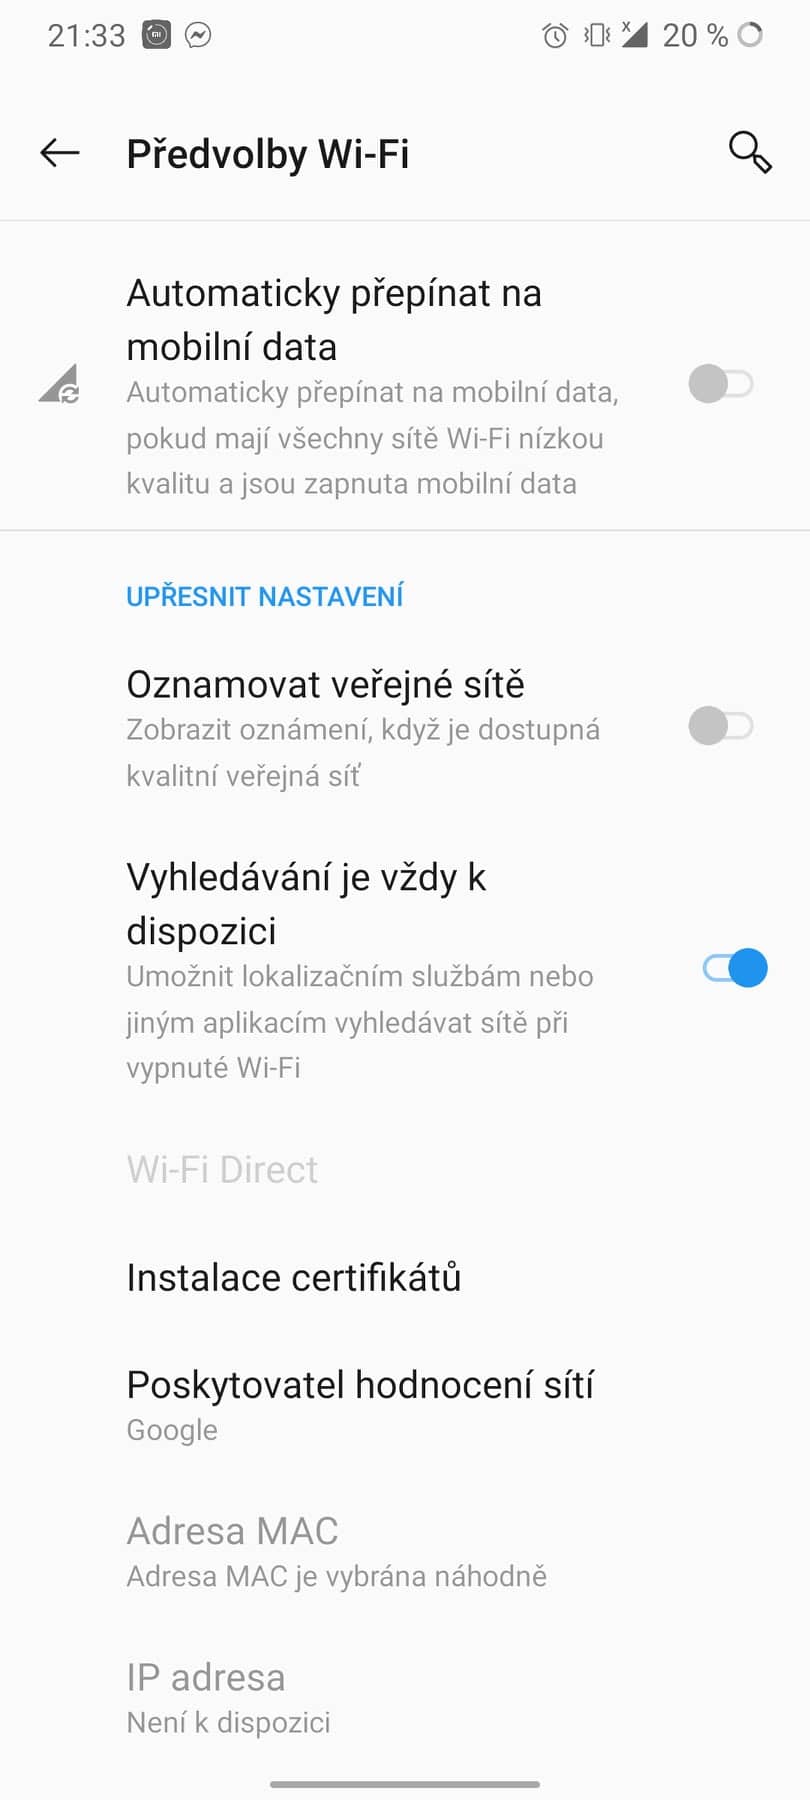
Andoid 10 and Windows 10 often have MAC randomization enabled. However, our network allows only known MAC addresses to connect, so this options needs to be disabled.

Android 10+

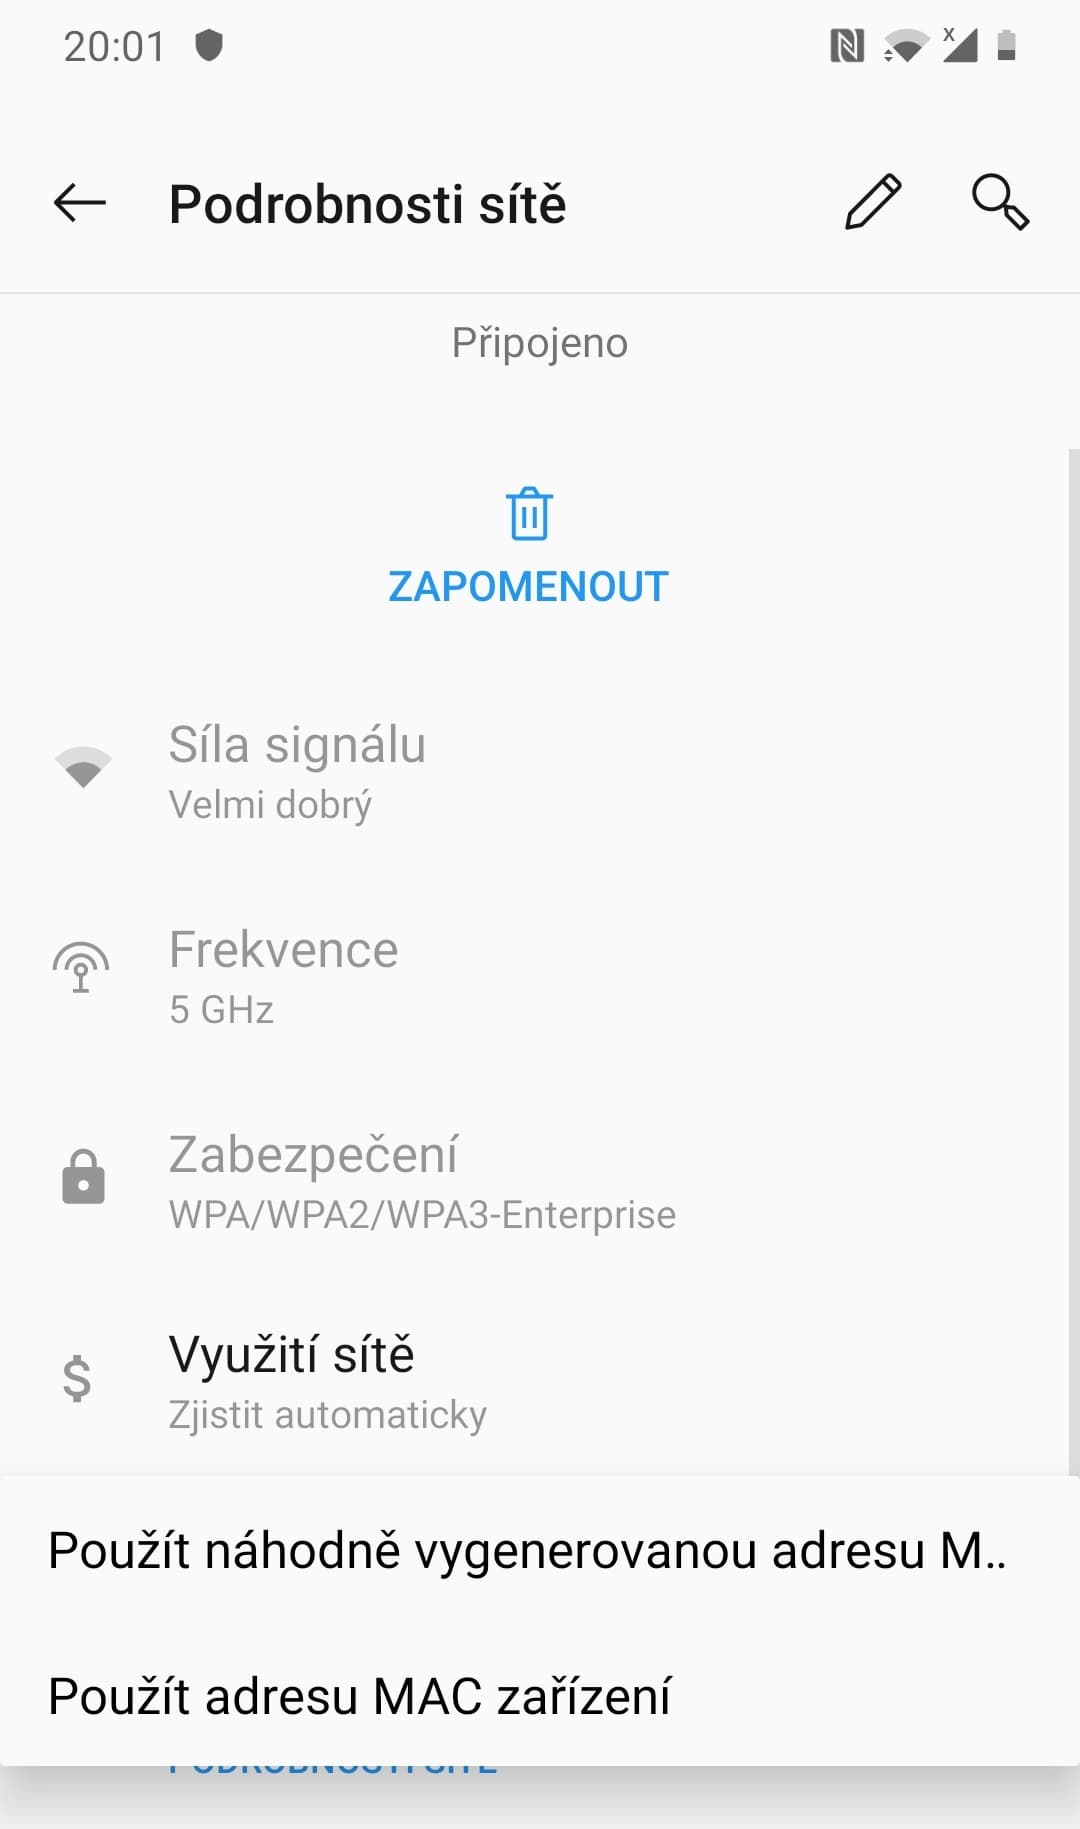
Pro zjištění MAC zařízení je potřeba ho připojit k nějaké síti (např. SH_registrace) a následně v nastavení dané sítě vybrat “Použít MAC zařízení”. Následně zobrazovaná MAC je již ta, co je potřeba zaregistrovat v ISu. Nyní lze již zařízení připojit k síti SiliconHill. Je však potřeba randomizaci MAC vypnout i pro tuto síť.

iOS 14+

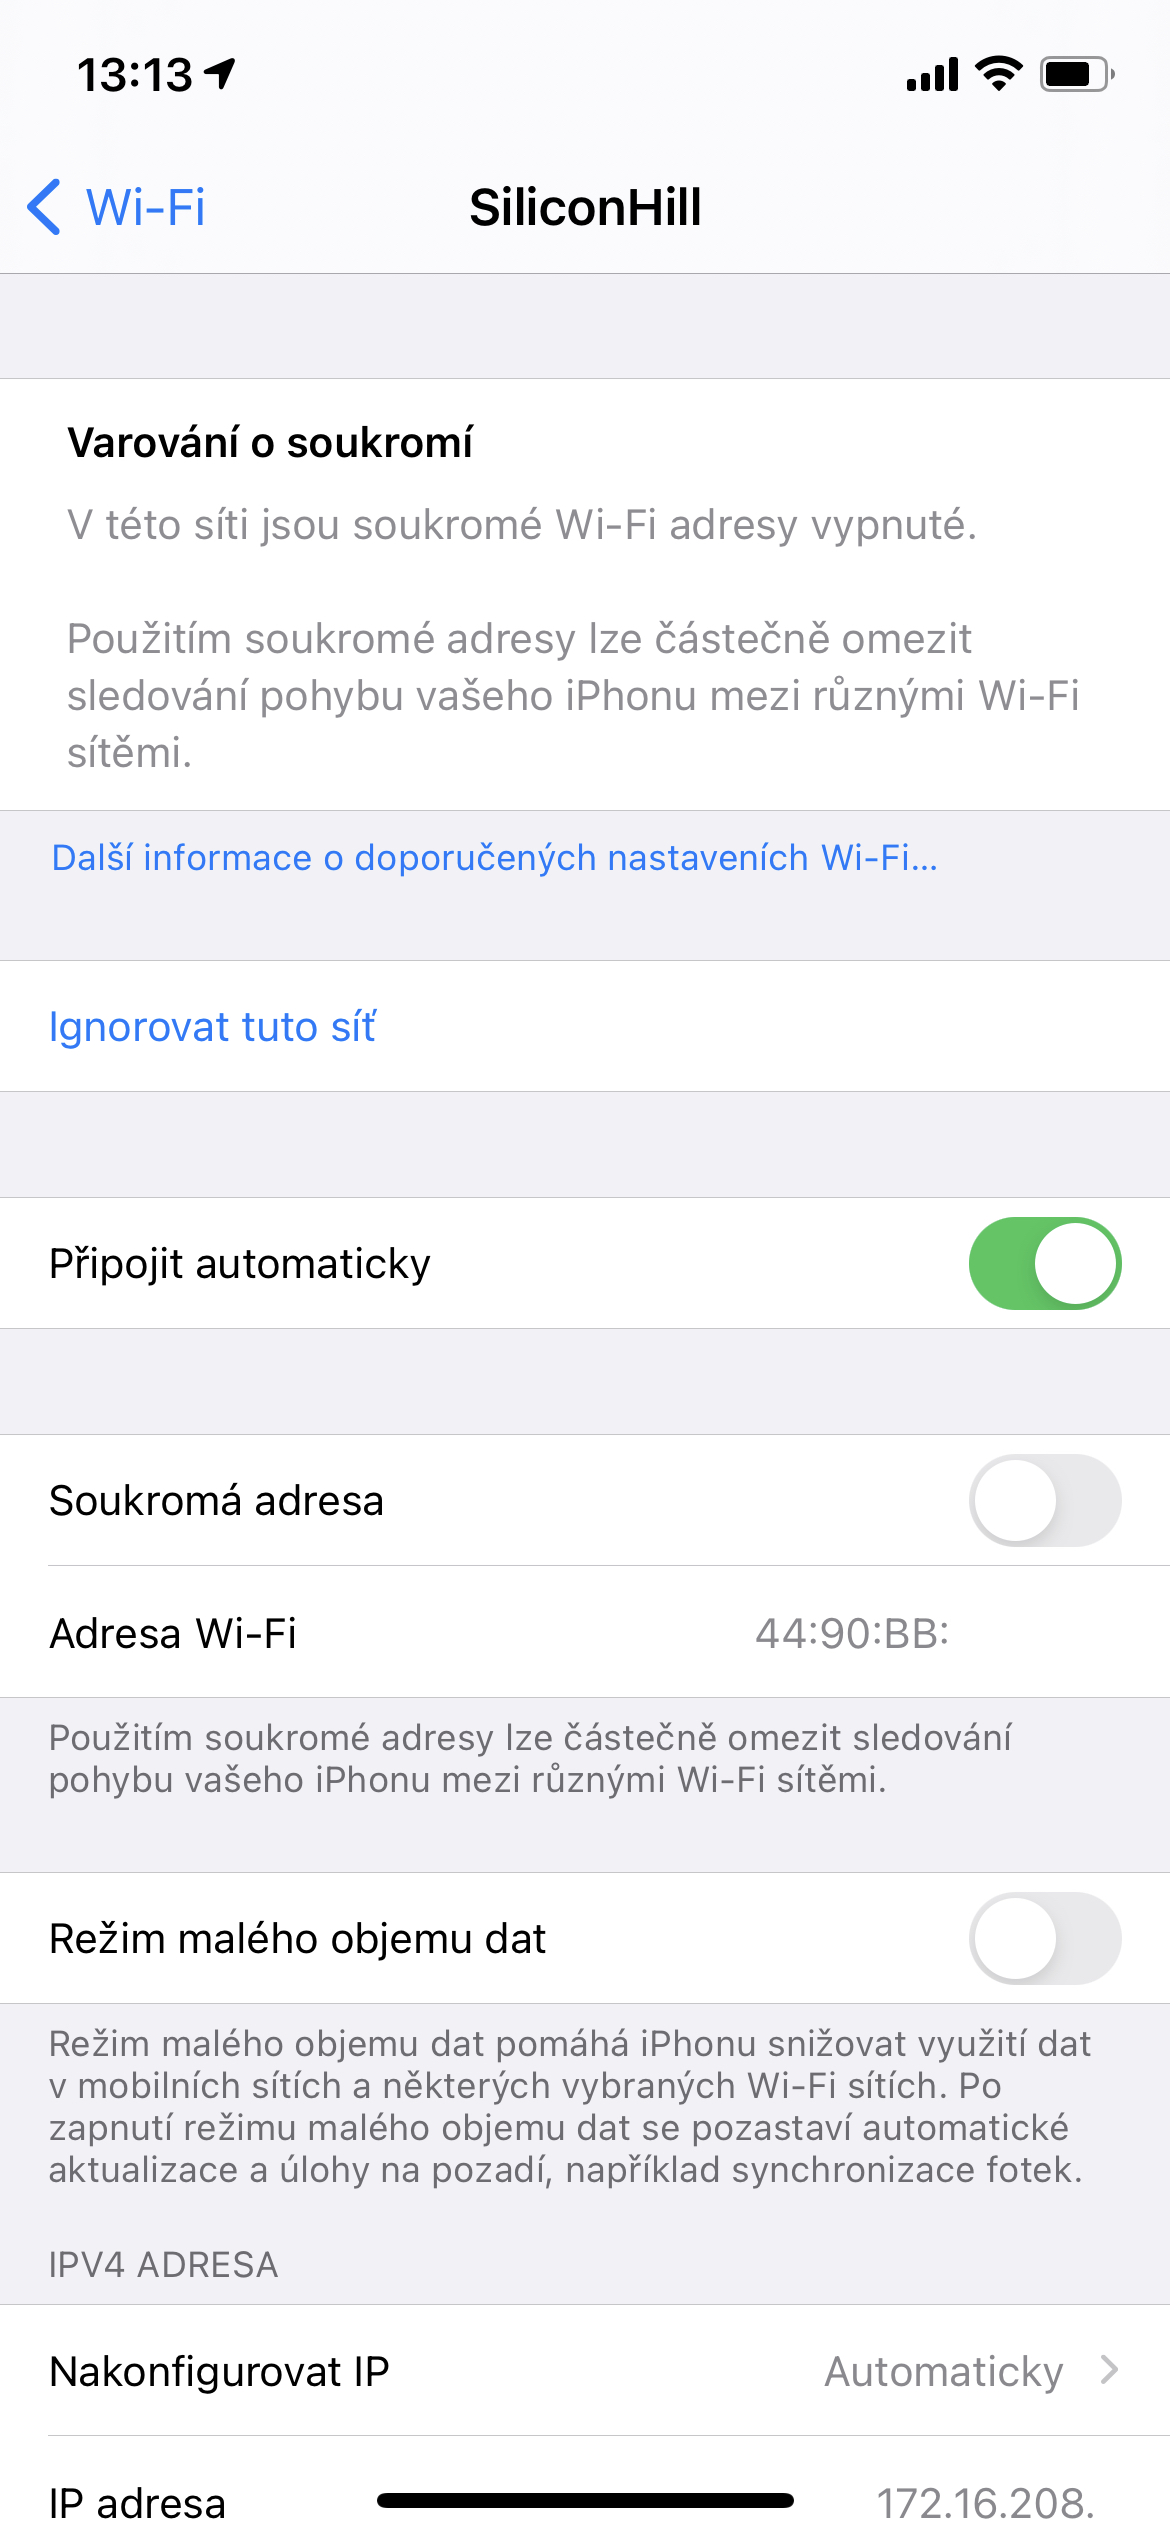
Pokud se na iPhone / iPadu / jiném iZařízení objeví problém s připojením k síti SiliconHill, je třeba vypnout “Soukromou adresu” / “Private address”, viz screenshot níže.

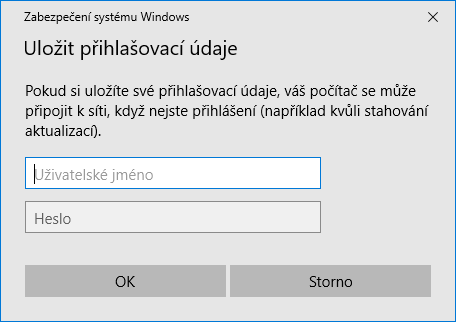
Pokud se k síti nelze připojit již zezačátku, je třeba provést manuální setup sítě podle základních informací + vypnout “soukromou adresu”, jako v již uložené síti.

Windows 10

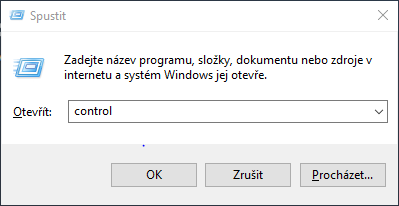
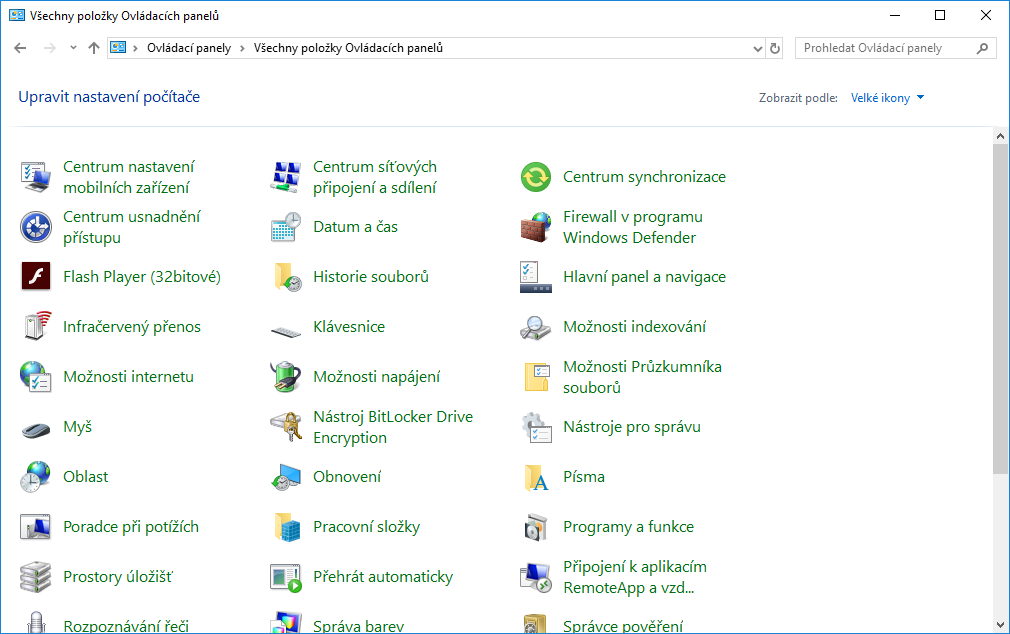
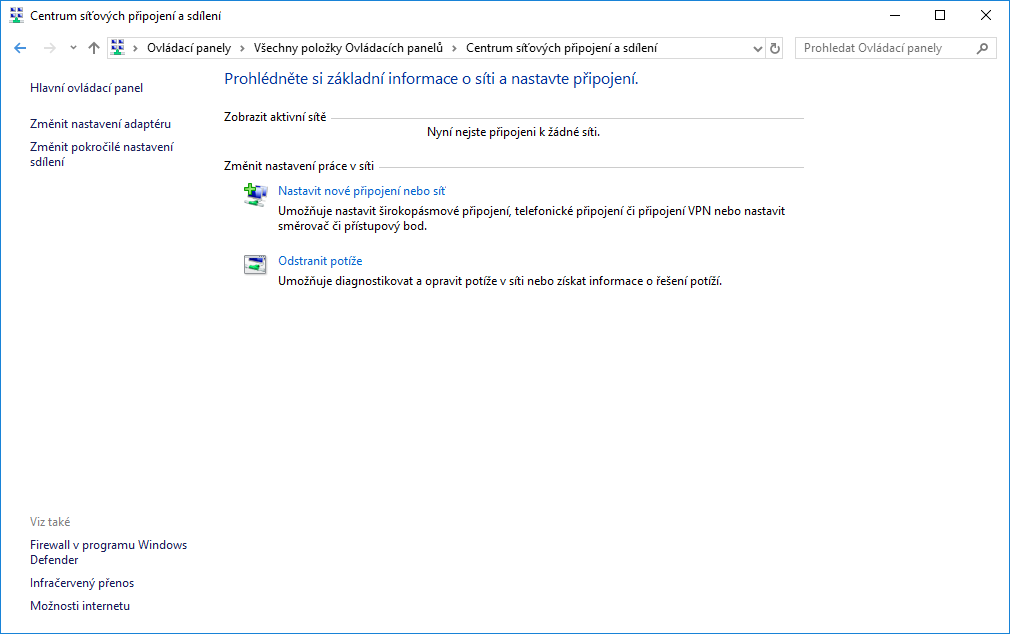
Kroky k vypnutí ranodmizace:

  1. První 3 kroky jsou stejné jako pro odebrání profilu WiFi sítě viz navod_na_pripojeni
  2. V rozbalovacím menu Používat náhodné hardwarové adresy pro tuto síť vybereme Vypnuto
en/klub/itsluzby/wifi.1634999303.txt.gz · Last modified: 2021/10/23 16:28 by adamjezek